I work in the recreation sector and recreation seems to be drawn to weekends for some reason. That is why I work on Saturdays and take Wednesdays off instead. Today being Wednesday, I worked on two different projects.
Project 1: Clean out and rearrange the shed.
Jenni and I cleaned out the shed today, threw away a van-load of stuff from tires to wood chunks to a pulley hook thing from some kind of crane or something. We hired a neighbourhood boy to help as well.
Some stuff is now in the house. Jenni has been working on the craft room and baby room as well (good thing 'cause a baby will be here in January). There is so much floor space in the shed now. It's awesome!
Project 2: Working on my game table.
I knocked the MDF surface out of the table frame and took it outside to stain. I'm using Minwax Iswitch Pine, for those who want to know that kind of thing. I was going to just apply a clear coat to it because that is what I usually do. But I found a conditioner and the stain and decided to be brave and see what came of it. Well, I think it turned out quite nice.
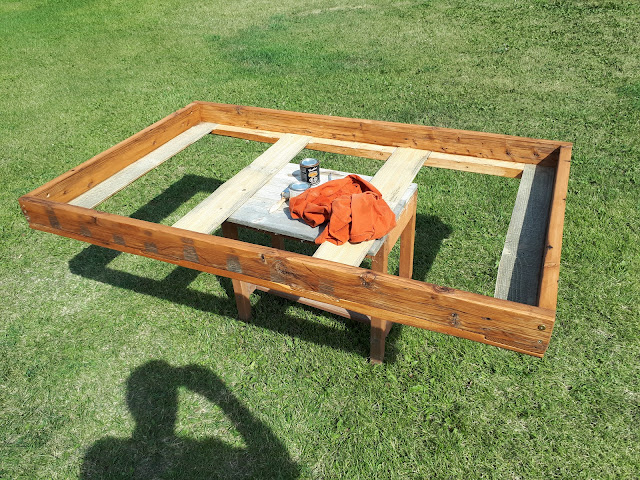 |
| Table frame after the first coat. I'm already digging the darker shade. |
Before moving it inside the shed, which can accommodate it now, I wanted to get some legs going for the table. I kept putting it off during the morning and a good thing I did. Jenni decided that she didn't like the table I had made for the kids' play room. I measured it and the length was roughly where I wanted legs to be. The width was just 1-3/4" too narrow to fit tightly between the bottom railings. However, the legs I had on the play table were too short. So I took off the legs and cut some new ones the right length so that the top of the playing surface would be around 30" high, same as the dining room table. Then I cut rabbets on each side of the legs so they will fit snugly between the playroom table frame and the game table frame. I've also devised a way to attach them such that I can take them apart easily if needed.
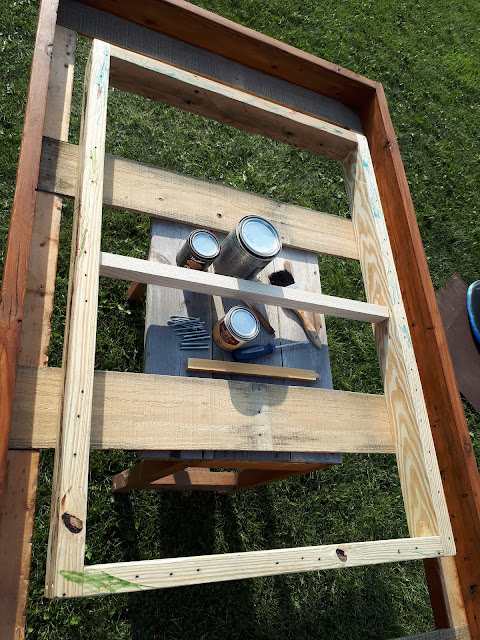 |
| Sizing up the play table frame. |
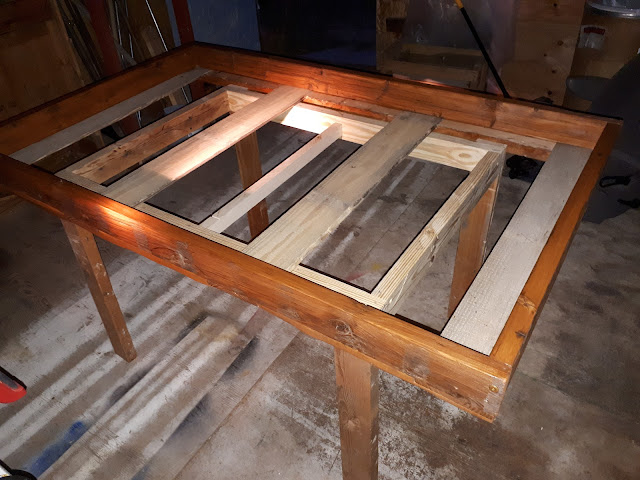 |
| Things are coming together nicely. This is how I left my table for the night. may it dry nicely in preparation for the clear finish. |
I was going to cut notches into the play table frame that would accept the two middle stringers, but as I looked at it tonight, I thought it might be just as good to add stringers right on top of the play table frame instead. Either way, the main function desire is to have a way to fit the two pieces together easily. Also debating putting a finish on the legs. They are a different kind of wood and have already cured to a colour similar to the stain I used on the top.
I'm thinking with a little luck, I can have this ready to install by the time Jenni goes off camping with the kids next week!


